- Statsig automatically pushes project changes to Cloudflare’s KV store, providing low-latency SDK startup
- Statsig offers a Cloudflare helper that handles client initialization and event flushing, so you can focus on your business logic.
1
Configure Integration
Navigate to Project Settings -> Integrations, in the Statsig Console, and select Cloudflare, then input:
- Cloudflare Account ID: Can be found in Cloudflare portal on the Compute (Workers) page, under Account Details
- KV Namespace ID: We recommend creating a new KV namespace for your Statsig integration. You can create a new namespace, and get the ID from Account Home -> Storage and Databases -> Workers KV, and copy it from the table view.
- Cloudflare API Key: Can be found in Cloudflare portal under Account Home -> Profile -> API Tokens. You need a token with Account.Workers KV Storage Edit Permissions.
statsig-. This is the key associated with your KV storage. Note this key down as it will be required later.2
Add the Statsig SDK to your Worker
Now lets hook up the SDK to read that config payload and use it for gate and experiment checks in your worker. If you’ve never created a worker before, you can follow the instructions here.After creating your worker, you will need to connect your KV store to your worker through a binding. Navigate to Compute (Workers) -> Select Your Worker -> Bindings -> Add binding -> KV namespace. Name your binding under Variable name. Under KV namespace, select your KV store name. For more information on connecting your worker to your KV store, you can follow the instructions here.
3
Install the Statsig SDK
Install the Statsig serverless SDK:
4
Import the Statsig SDK
Import the helper
5
Use the SDK
-
handlerThis is your Cloudflare worker fetch handler code. -
params : ParamsObjectParameter Optional Type Description kvKeyNo stringEnvironment variable name containing your KV pair key envStatsigKeyNo stringEnvironment variable name containing your Statsig client key envKvBindingNameNo stringYour KV binding name statsigOptionsYes StatsigOptionsSee StatsigOptions here
- store
envStatsigKeyas a Cloudflare secret. You can set this in the Cloudflare dashboard under, Worker → Settings → Variables and Secrets - store
kvKeyandenvKvBindingNamein your wrangler.toml
Statsig requires the three required parameters to be stored as environment variables. Either in your wrangler.toml or as Cloudflare secrets
Example Usage
- Initializes the Statsig Client with config specs from your KV store
- Executes your handler code (Your business logic + Statsig usage)
- Flushes all events after your handler completes execution
- Cleans up resources
Advanced/manual usage
Advanced/manual usage
Use the advanced/manual setup if:Then, you need to hook it all up. This involves:1. Creating a
The client instantiation takes two arguments:The client initialization takes two arguments:This is a gate check in code.The This is an event log in code.The This flushes all events from the sdk to Statsig. Without this, you wont be able to get diagnostic information in the Statsig Console, nor any event data you logged.If you want to check on the evaluations you are getting, you can go to the gate you created for this example and look at the evaluations in the Diagnostics tab. If you want to check the events you logged, in the Statsig Console, go to Data -> Events
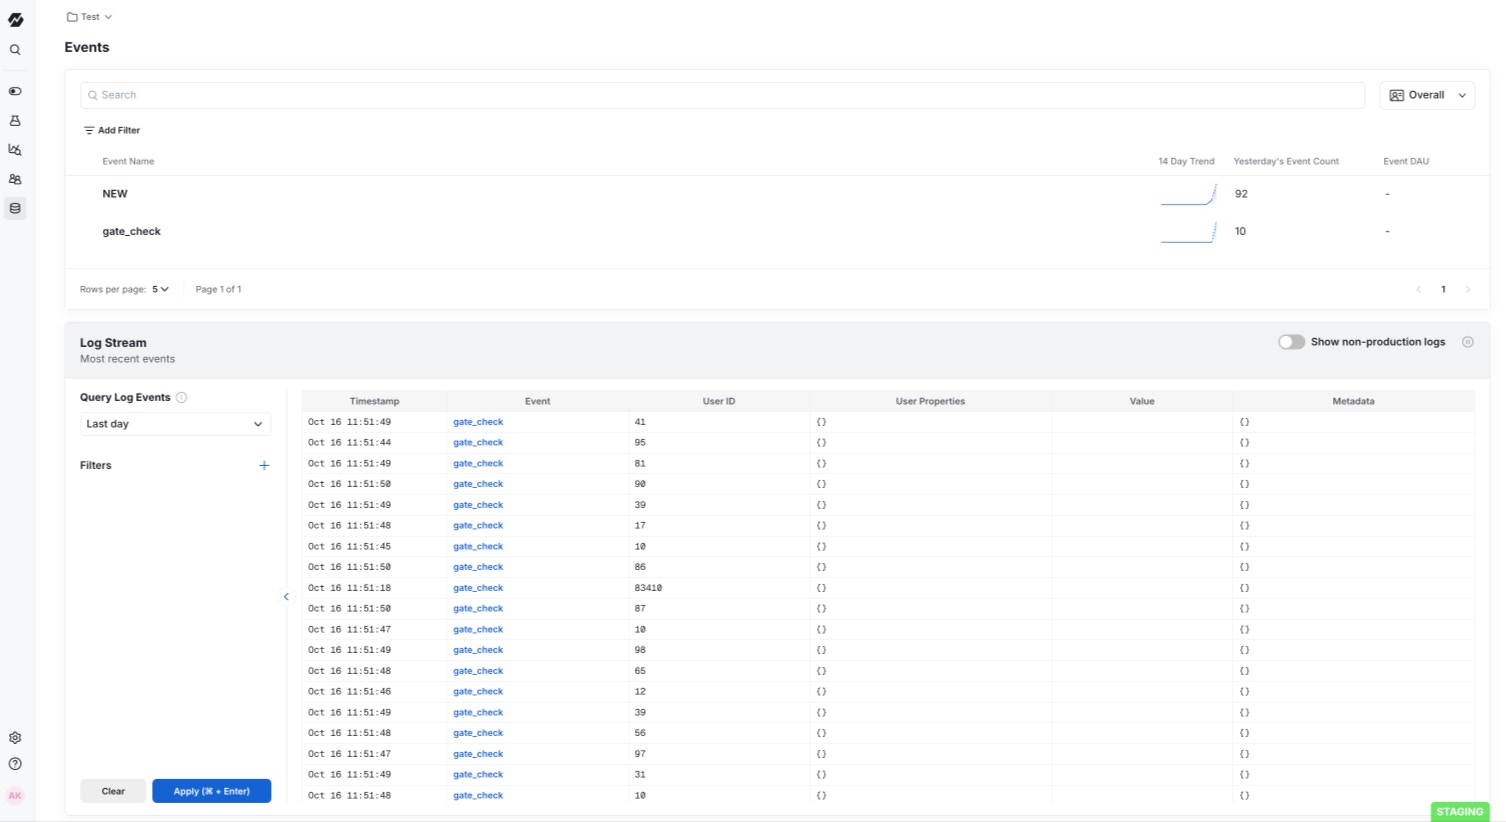
- You need fine-grained control over initialization timing
- You need fine-grained control over event flushing timing
- You need to customize error handling behavior
Prerequisites
- Completed the Statsig Cloudflare KV integration setup
- Created and bound a KV namespace to your worker
Installation
First, you’ll need to install the Statsig serverless sdk.Import
Next, import the Cloudflare client.- Creating a
StatsigCloudflareClientinstance. - Initializing the Statsig client
- Checking a Gate
- Logging an event
- Flushing events to Statsig
1. Creating a StatsigCloudflareClient instance
sdkKey : stringThis is your Statsig client API key. It is available from the Project Settings page in the Statsig Console. This is used to authenticate your requests.options : StatsigOptionsSee here, for more options.
- store
sdkKeyas a Cloudflare secret. You can set this in the Cloudflare dashboard under, Worker → Settings → Variables and Secrets
2. Client initialization
The following line initializes the client by loading feature gate and experiment configurations directly from your Cloudflare KV store.KvBindingThis is the binding you named earlier. Remember to provide this argument asenv.YOUR_KV_NAMESPACE_BINDINGKvKey : stringThis is the KV pair key that was generated through the Statsig integration. It can be found under Workers KV -> Your KV namespace -> KV Pairs
- store
kvBindingandkvKeyin your wrangler.toml
3. Checking a Gate
checkGate method takes two arguments:name : stringThe name of the Statsig gate that you are checking.user : StatsigUserThe Statsig user object for whom the gate is being checked. For more information on the user object, see here.
4. Logging an event
logEvent method takes two parameters:eventOrName : string | StatsigEventThis is the name and details of the event you are logging.user : StatsigUserThe Statsig user object for whom the event is being logged.
5. Flushing Events
Putting it all together
- index.js
- wrangler.toml